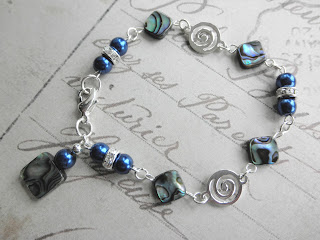
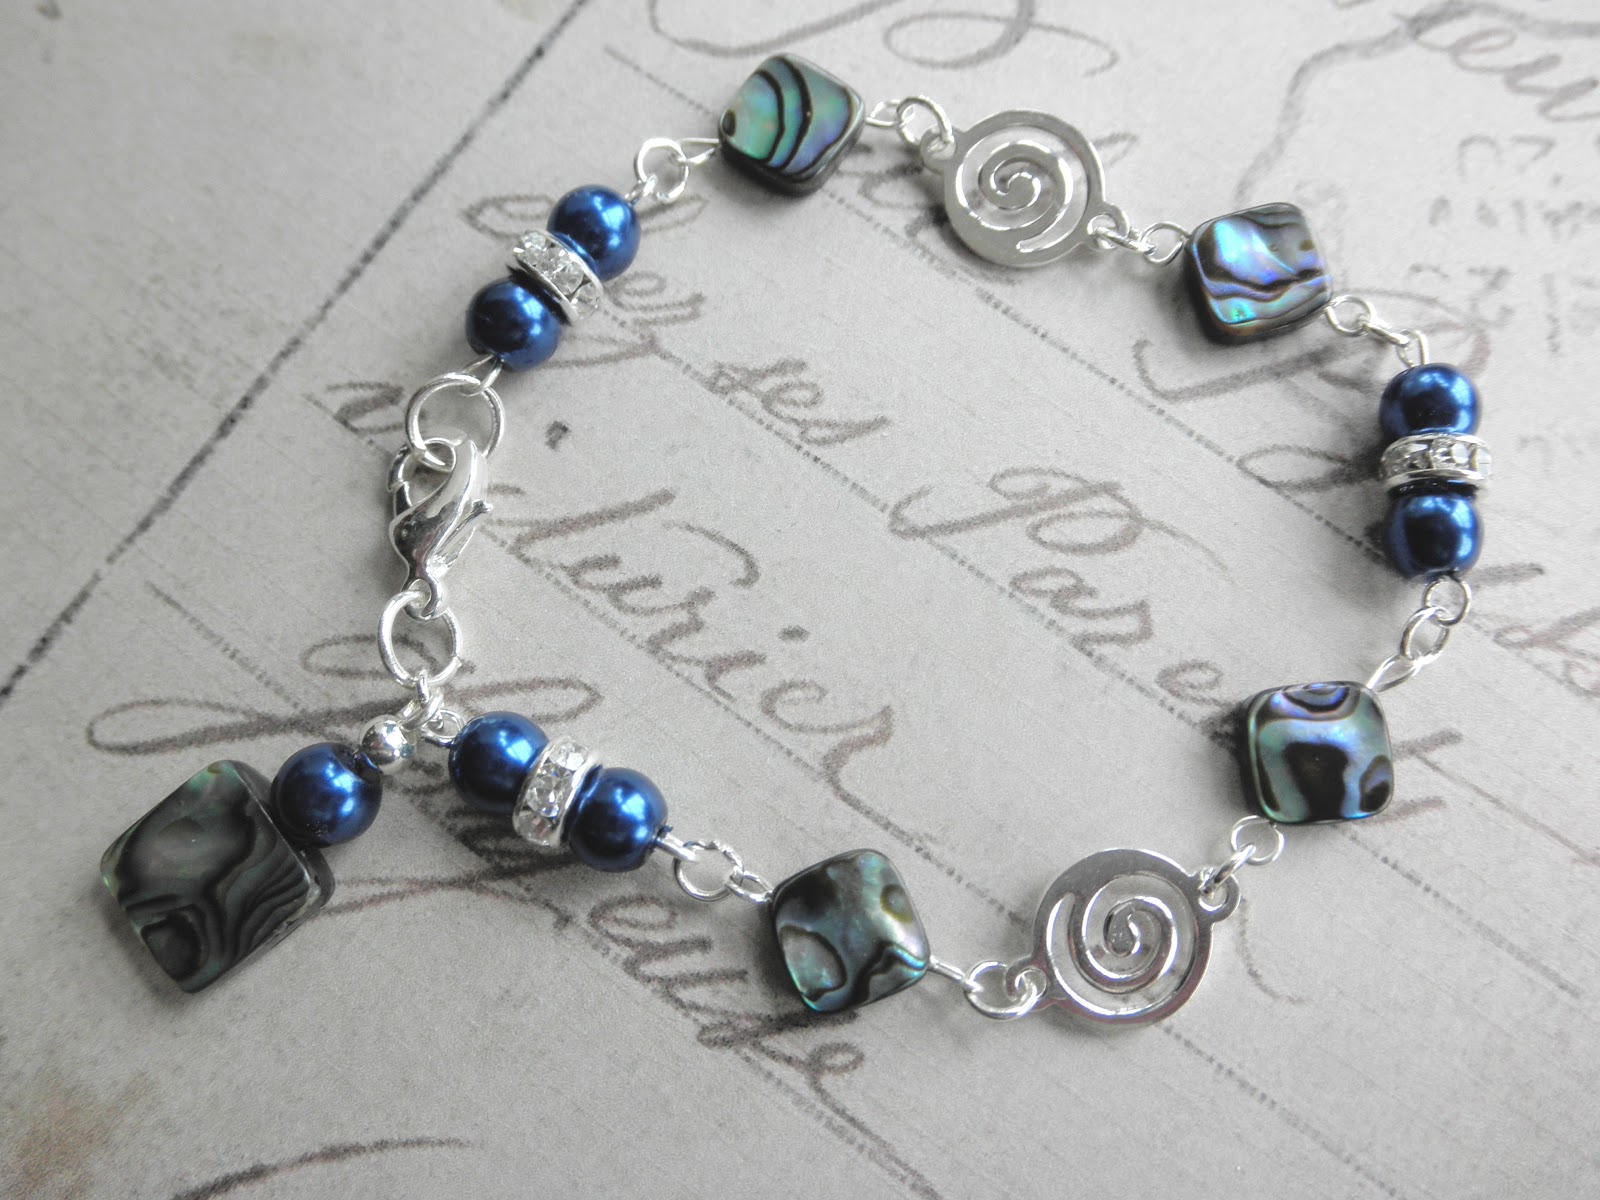
When I started my Etsy shop, I thought "I'm a pretty decent photographer, these product photos should be a breeze!" I've shot weddings, nature, wildlife, concerts and countless other subjects with ease! Well, needless to say, I was wrong.
I have a Canon Rebel XT DSLR, which I love dearly. I was a user of the film version of the same camera for years. So, I got my trusty camera ready, got my backdrops all set up, found the perfect light and started snapping away! I thought it went great....until I downloaded the pics to my laptop. The depth of field was all wrong and I couldn't get in close enough to show all the details I felt I needed to show on my jewelry and still be in focus. Damn, I was convinced I was pretty good at photography! Well, I still think I am, but now I know a lot more about product photography. Jewelry photography in particular.
What I really needed was a macro lens for my DSLR. Great. LOTS of money I didn't have to spend! Well, lots for the one I wanted anyway. So after searching through Etsy forums to see what others were using, I decided to purchase a point-and-shoot with a macro setting. I ended up spending about $120 and settled on an Olympus Stylus. I could have bought a cheap manual focus macro lens for about $100, but this way, I also have a camera that can easily fit in my purse for events that don't require
great photos or a lot of messing around with settings.
Let me tell you what I love about my Olympus for jewelry photos:
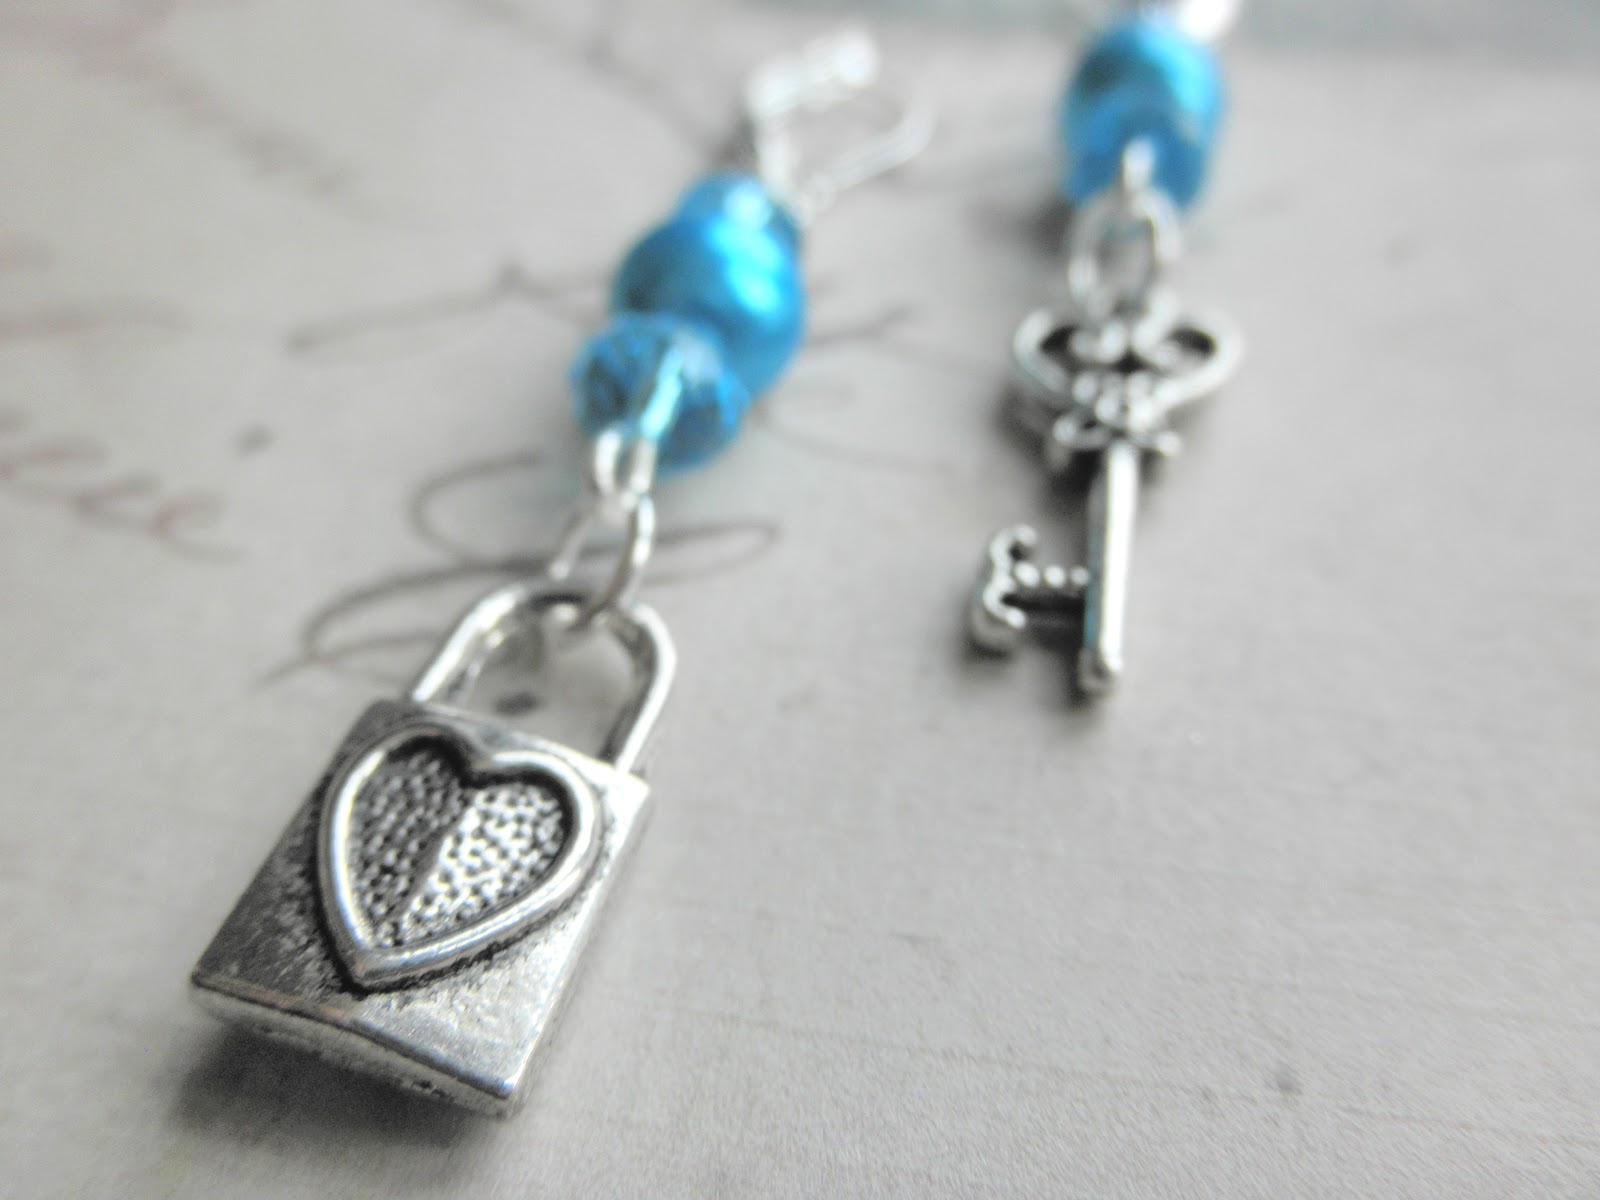
Super Macro- Most point-and-shoots have a macro setting for getting in close on flowers and other things. Super macro gets you close enough to focus in on the bug on the flower! The lens on this camera can nearly be touching your subject and still focus in on it. Perfect for showing tons of detail.
Image Stabilization - This feature helps with camera shake that could make your picture blurry. I see it kick on when I'm in lower light situations. Since I shoot my jewelry pictures in natural light with the flash turned off, this is pretty beneficial to me.
Exposure Compensation - Like I mentioned, I shoot in natural light. This can be tricky. I have shot some pieces of mine in direct sunlight (shadows too harsh), under a shade tree (inconsistent light), and near a large, bright window. Without using exposure compensation near my window, I had to edit all my photos to lighten them. Editing can be time consuming and may leave the colors looking different from reality, which adds even more time for correcting the photos. On this camera, you even get a preview on the screen as to how the different exposure settings will look. This is an enormous timesaver and makes the chore of listing my items a little...ok, a LOT less painful. Download and they are ready for listing!


No comments:
Post a Comment